Start with a repeatable plan, not a perfect shopping list
Dicevaders asks you to turn dice rolls into an invasion army that can keep up with rising defenses. The useful question at a shop is not simply which item has the biggest number. Ask what your army already does, how often it does it, and which purchase would make that action produce more value. An upgrade that makes an existing effect dependable is often easier to use than a powerful new effect that requires a different army.
For a first run, choose one small plan you can explain in a sentence. Captain can turn pairs into artifact growth. Blob Girl can turn extra Mini-Dice into more scores and XP. A commander with a death-based perk needs a supply of units worth destroying and a payoff that makes their loss worthwhile. You are not committing to the same plan forever. You are giving the next purchase a job, so that you can recognize when a better opportunity appears.
This guide covers the regular invasion loop and the decisions that help you reach the Pilots. Later campaign difficulties change the constraints, and Chapter 6 has its own patch-specific guide. Treat the board and the encounter rule on your screen as the final word when they differ from an example here. The examples below illustrate decisions, rather than prescribe a seed or promise a winning sequence of shops.
Read the attack panel before spending anything
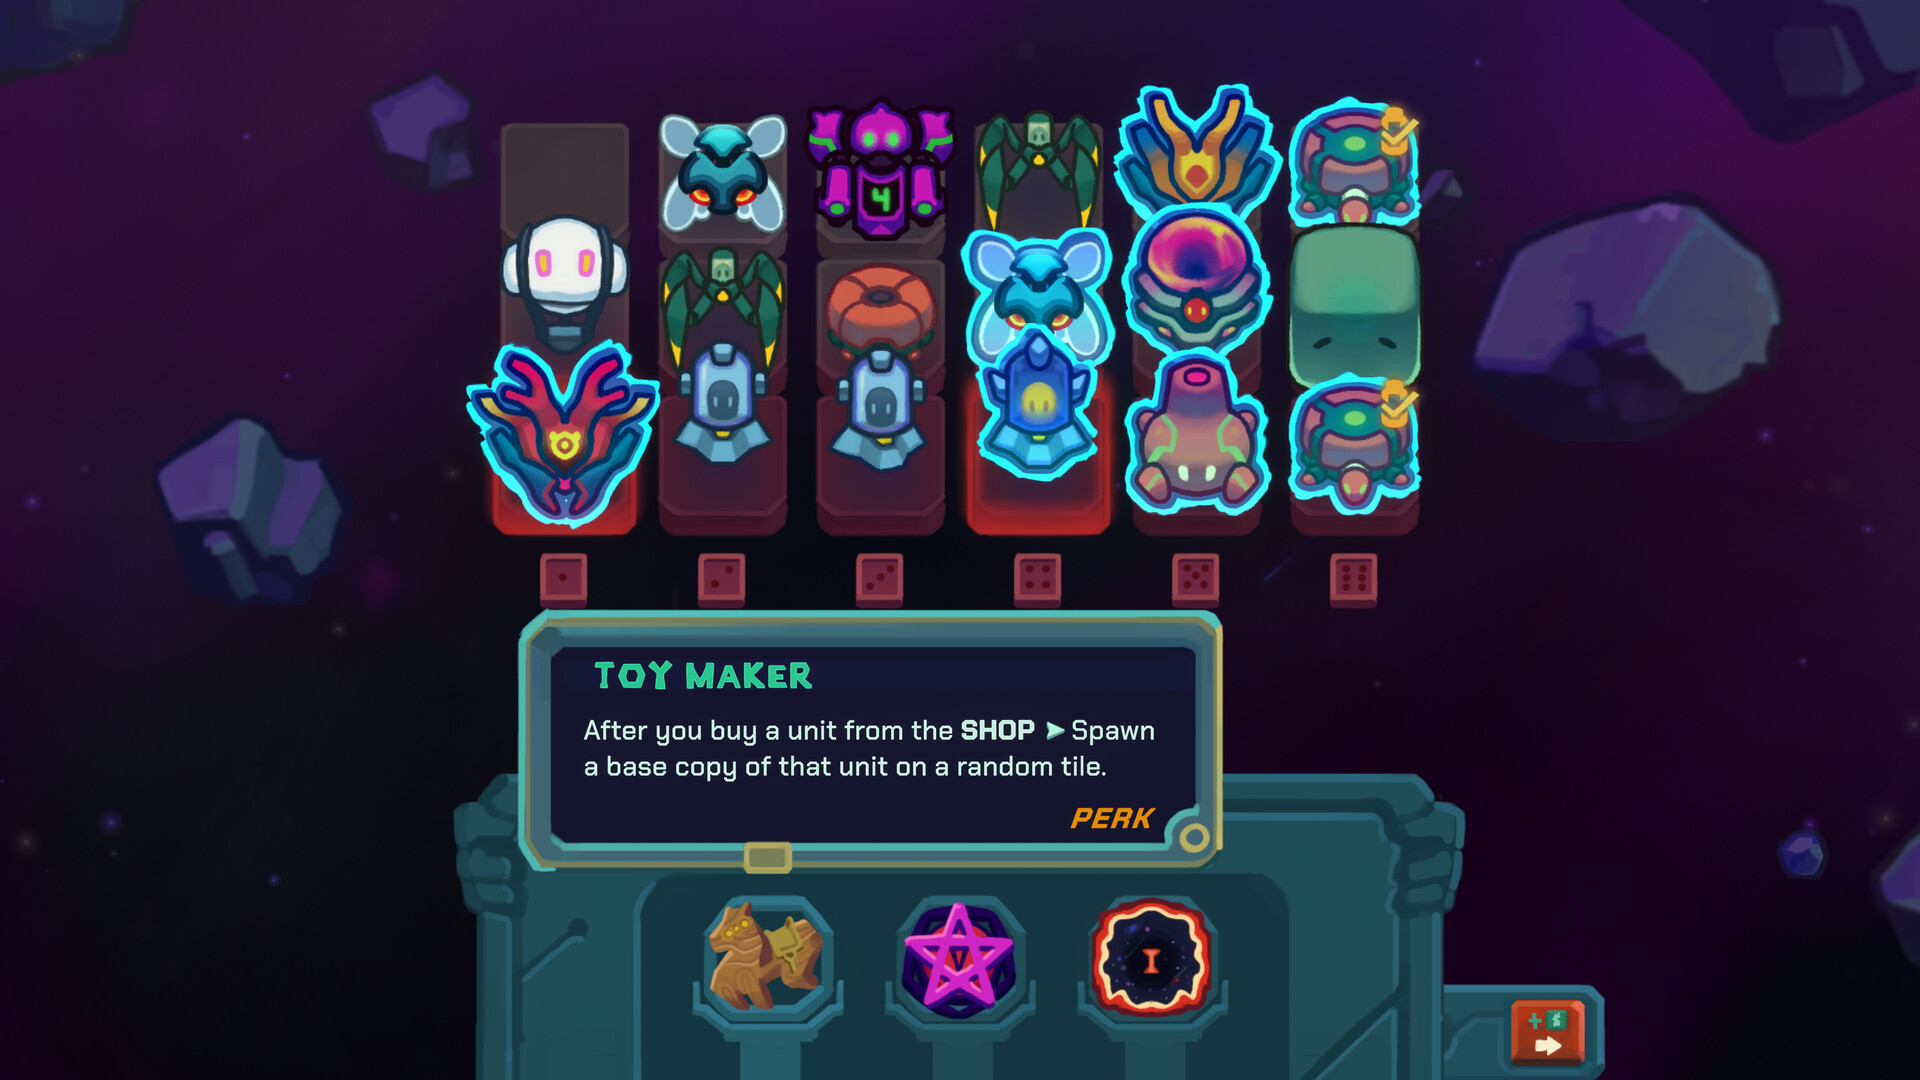
The six columns correspond to dice faces. A die showing a three chooses column three; it is not inherently three times stronger than a die showing a one. Ordinary matching Base Dice add Dice Power to their column. Your units supply strength, your dice decide which parts of the board score, and your effects determine what additional value those scores produce. This is why a high face in an empty column can be less useful than a low face in the center of your army.
Use a simple hypothetical board to separate those ideas. Suppose a column contains a unit with 10 STR, with no other relevant effect. One ordinary die there gives a basic contribution of 10; two ordinary dice provide 2 Dice Power and a contribution of 20. These are arithmetic examples, not guaranteed stats for an upgraded unit. A separate global Mult effect changes the turn's final attack again. Bonuses, Repeat and extra scoring effects make a real launch more complicated, so wait until it finishes before drawing conclusions.
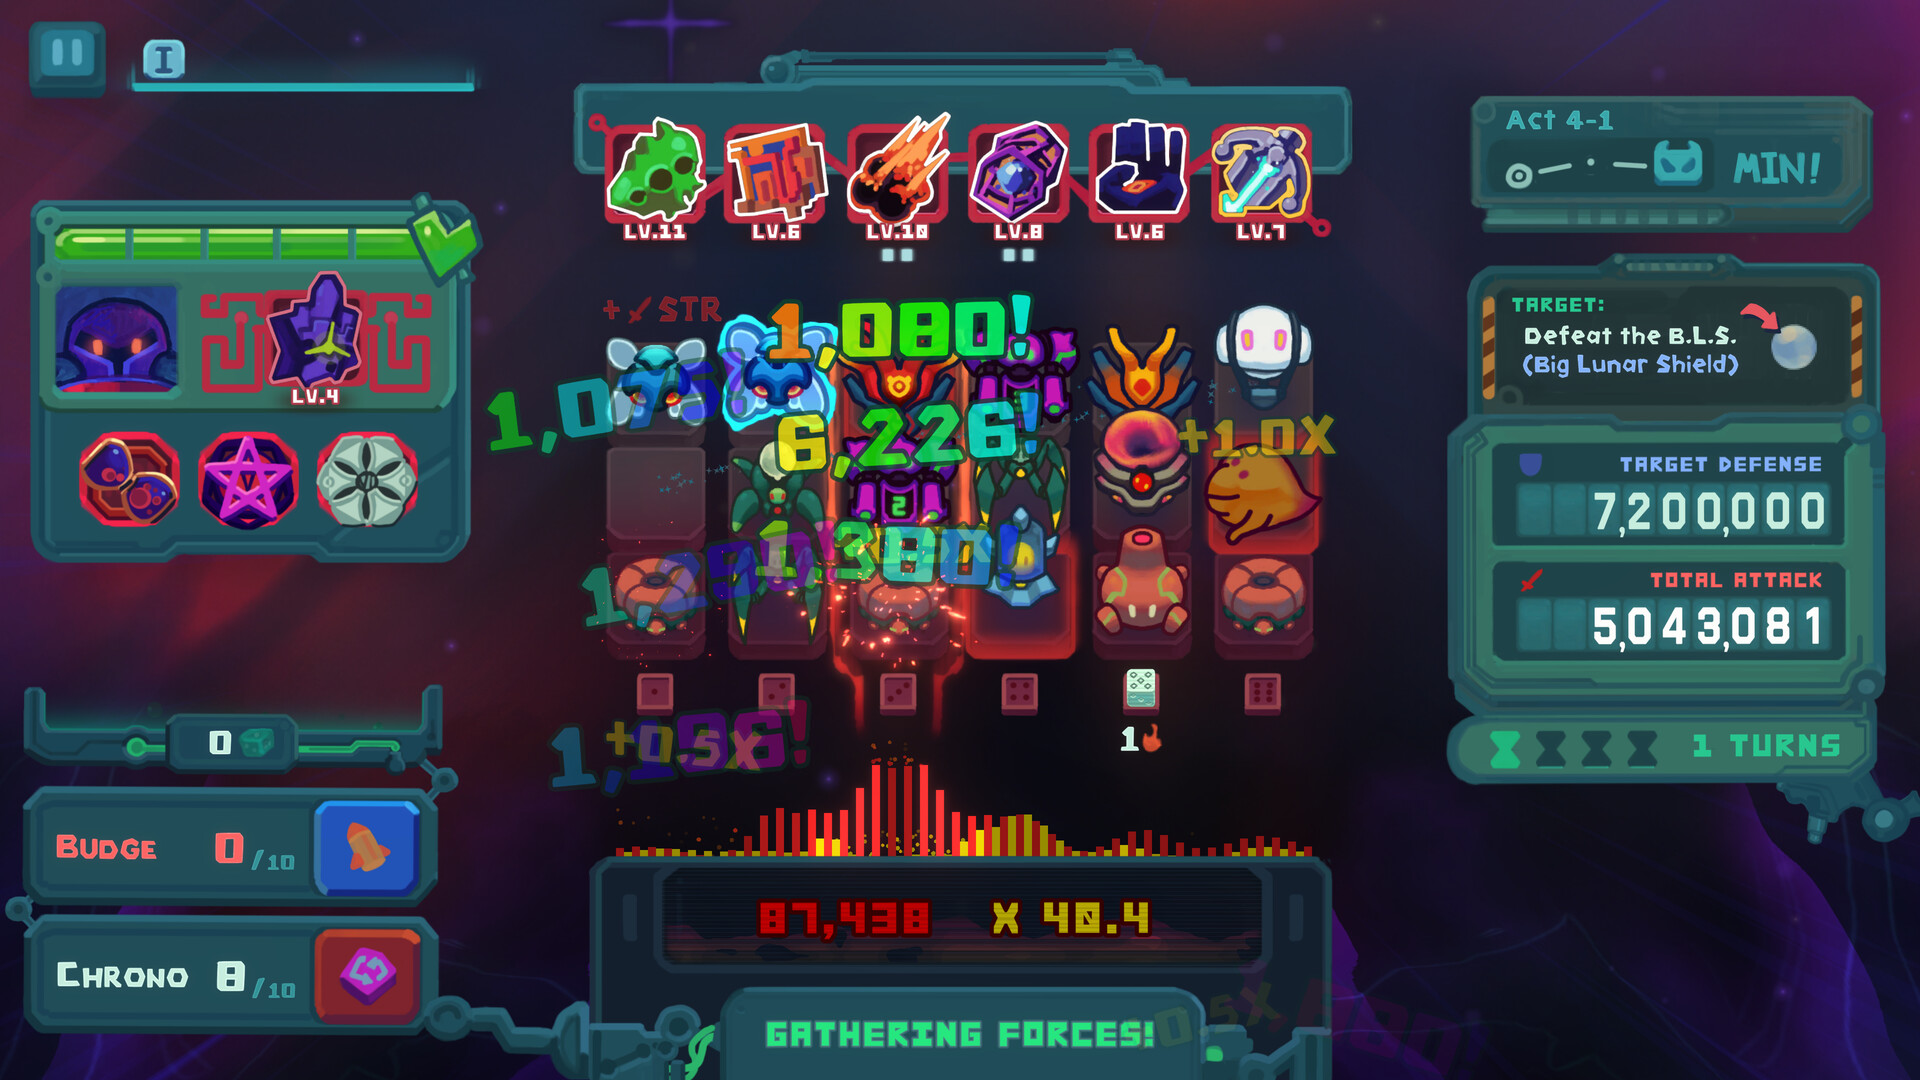
The Total Attack panel tracks progress toward the current Target Defense. You can contribute over several turns; a weak first launch does not automatically mean the encounter is lost. Read the remaining turns alongside the gap. If your current army is improving quickly, another turn can do more than the previous one. If it is producing approximately the same attack each time while the target grows, the shop needs to change the engine rather than add another tiny bonus.
Running past the encounter's turn allowance costs Hearts for additional attempts. Do not turn that safety margin into your default plan. A Heart that saves one difficult encounter may also be the margin that lets you recover from an unlucky shop later. When the game shows the defeated state and a Skip offer, you can make the separate decision to leave early; avoid making that decision from rounded attack numbers alone.
Choose a commander whose first effect you can explain
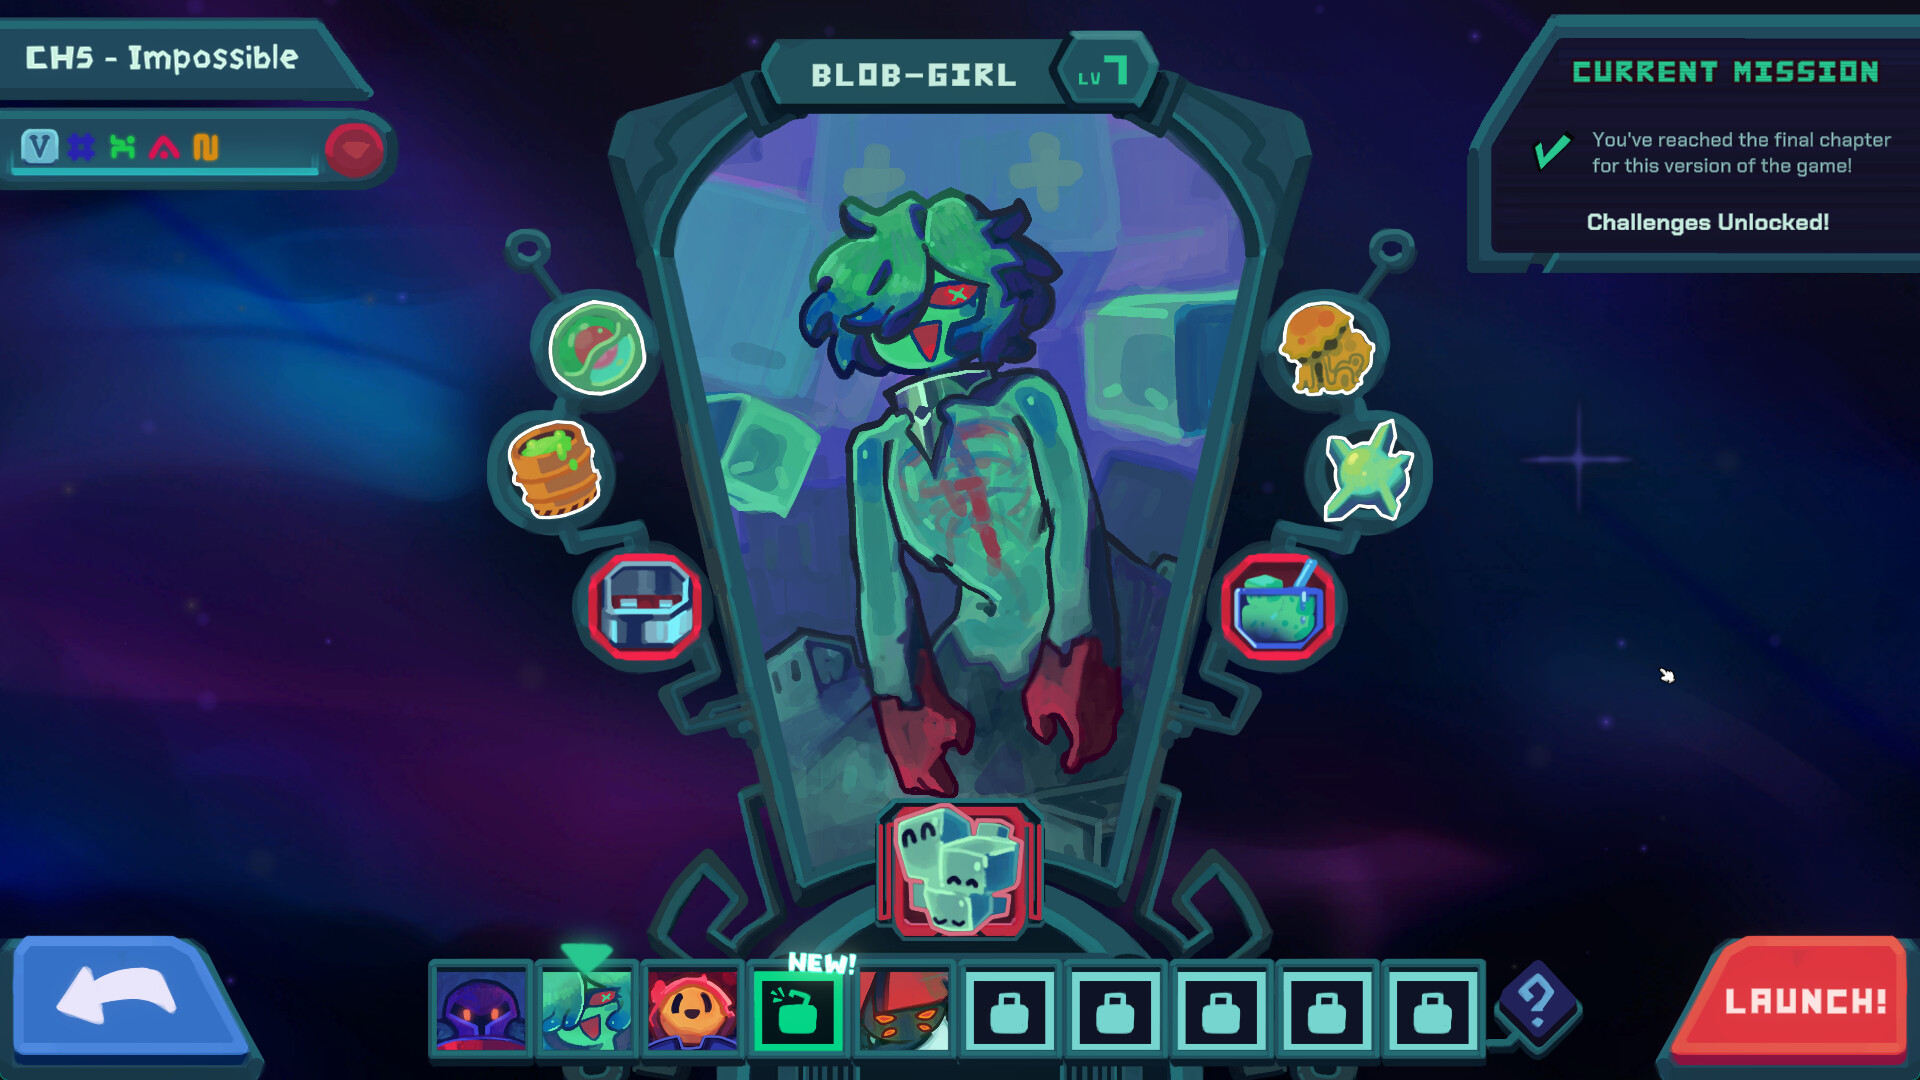
Read the starting perk before the first purchase. It tells you which actions can earn value even while your attack is still small. Captain's Mothership supplies Budge at turn start and gives column artifact XP from pairs. That makes a useful pair more than a short-term damage increase: it can also improve the item supporting that column. Paying for a correction that produces both results can have a stronger case than correcting a roll just to make the dice match.
Blob Girl's starting Mini-Dice and artifact XP encourage a different opening. Extra dice can score several columns after the Base Dice resolve, and those events can grow the artifacts they reach. Her first shops are easier to evaluate when you look for a Mini-Dice payoff, a way to generate more dice or a unit that benefits from being scored often. You do not need to obtain all three before making progress. A useful partial engine can finance or strengthen the next piece.
Other commanders create more specific constraints. Riftmaker rewards her special Rift face. Blood Beast turns non-Token deaths into Rage and artifact XP, but BEAST MODE changes control of the Base Dice. Duchess makes new rows and non-Token spawns relevant. Before buying an item for any of them, finish this sentence: this purchase helps because my starting perk rewards this action. If the answer requires an artifact you do not own, it is a speculative purchase rather than an improvement to your current board.
See the commander comparison when choosing a new character. It explains the starting kit and the associated choices without treating one commander as universally best. A familiar kit often teaches more than repeatedly changing characters after a loss. Once you know why your last board stopped growing, you can choose another commander for a reason instead of hoping a new portrait removes the same problem.
Give every occupied column a job
Placement matters because dice activate columns, while individual abilities can care about rows, neighbors and the order in which units score. Put a new unit where its text works. A directional effect needs its intended recipient in the stated position. A column artifact needs a column you can actually reach. A unit with a special row requirement should not be placed wherever the next empty tile happens to be.
Early on, a compact useful column is easier to aim at than several scattered weak ones. It also gives you a clear way to evaluate a pair: does it score meaningful units and activate a relevant artifact? That does not mean you should permanently abandon the other columns. Coverage becomes valuable when additional dice or cross-column effects appear. Expand with a reason, so that a new tile supplies a useful activation rather than merely makes the board look fuller.
Consider how Budge reaches the column. Interior faces have neighboring results on both sides, while an edge has one ordinary neighboring face. An important match-triggered effect in an interior column can therefore have more nearby outcomes available for a one-step correction. Captain's Torpedo changes the edge case by allowing a wrap between six and one. Always read the perk before applying a general placement habit; an exception can make an otherwise awkward slot useful.
Do not confuse adjacency with automatic shared scoring. Two units standing next to each other are not necessarily both activated by a die in one column. Shared value needs an effect that says it provides shared strength, extra scores or another benefit. When an unexpectedly weak launch occurs, check the column that actually received the die before blaming a multiplier. Often the important unit simply was not part of the activation you bought.
Repair the roll with a specific outcome in mind
Budge makes a one-step adjustment. Chrono allows rerolls and also restocks the shop. Those resources solve different problems, and both have future uses. Before spending, name the effect you intend to reach. A correction that activates an XP engine or produces additional dice is different from a correction that adds only a little immediate attack. When either option defeats the target, prefer the one that also leaves your army or resources better prepared.
A hypothetical roll of two, two and three can be changed into three twos with one downward correction. That is useful if column two rewards the larger matching set, contains your productive units or satisfies a visible lock requirement. It is not automatically best if a different column needs a Base Die to activate a stronger effect. Matching dice are a means to use the board, rather than an objective that should consume all your resources every turn.
Retain a useful Base Die before rerolling the others. This lets you keep part of the plan while seeking another result, subject to the encounter's restrictions. A correction cracks a die, so you need a reroll to repair it before another ordinary correction. On a fight that blocks rerolls, that limitation matters immediately. Check the next Pilot early enough that you can buy the resource that remains usable rather than discover the problem after entering the fight.
If the army already reaches the target, additional attack has to earn its cost in another way. Perhaps a pair grants permanent XP or a larger match improves the board. If nothing lasting happens, preserving control for the next encounter can be more helpful. On the other hand, a run that is about to lose should spend toward a real recovery. Saving resources is not valuable if the saved resources never help you survive.
Shop for the weakest link in the engine
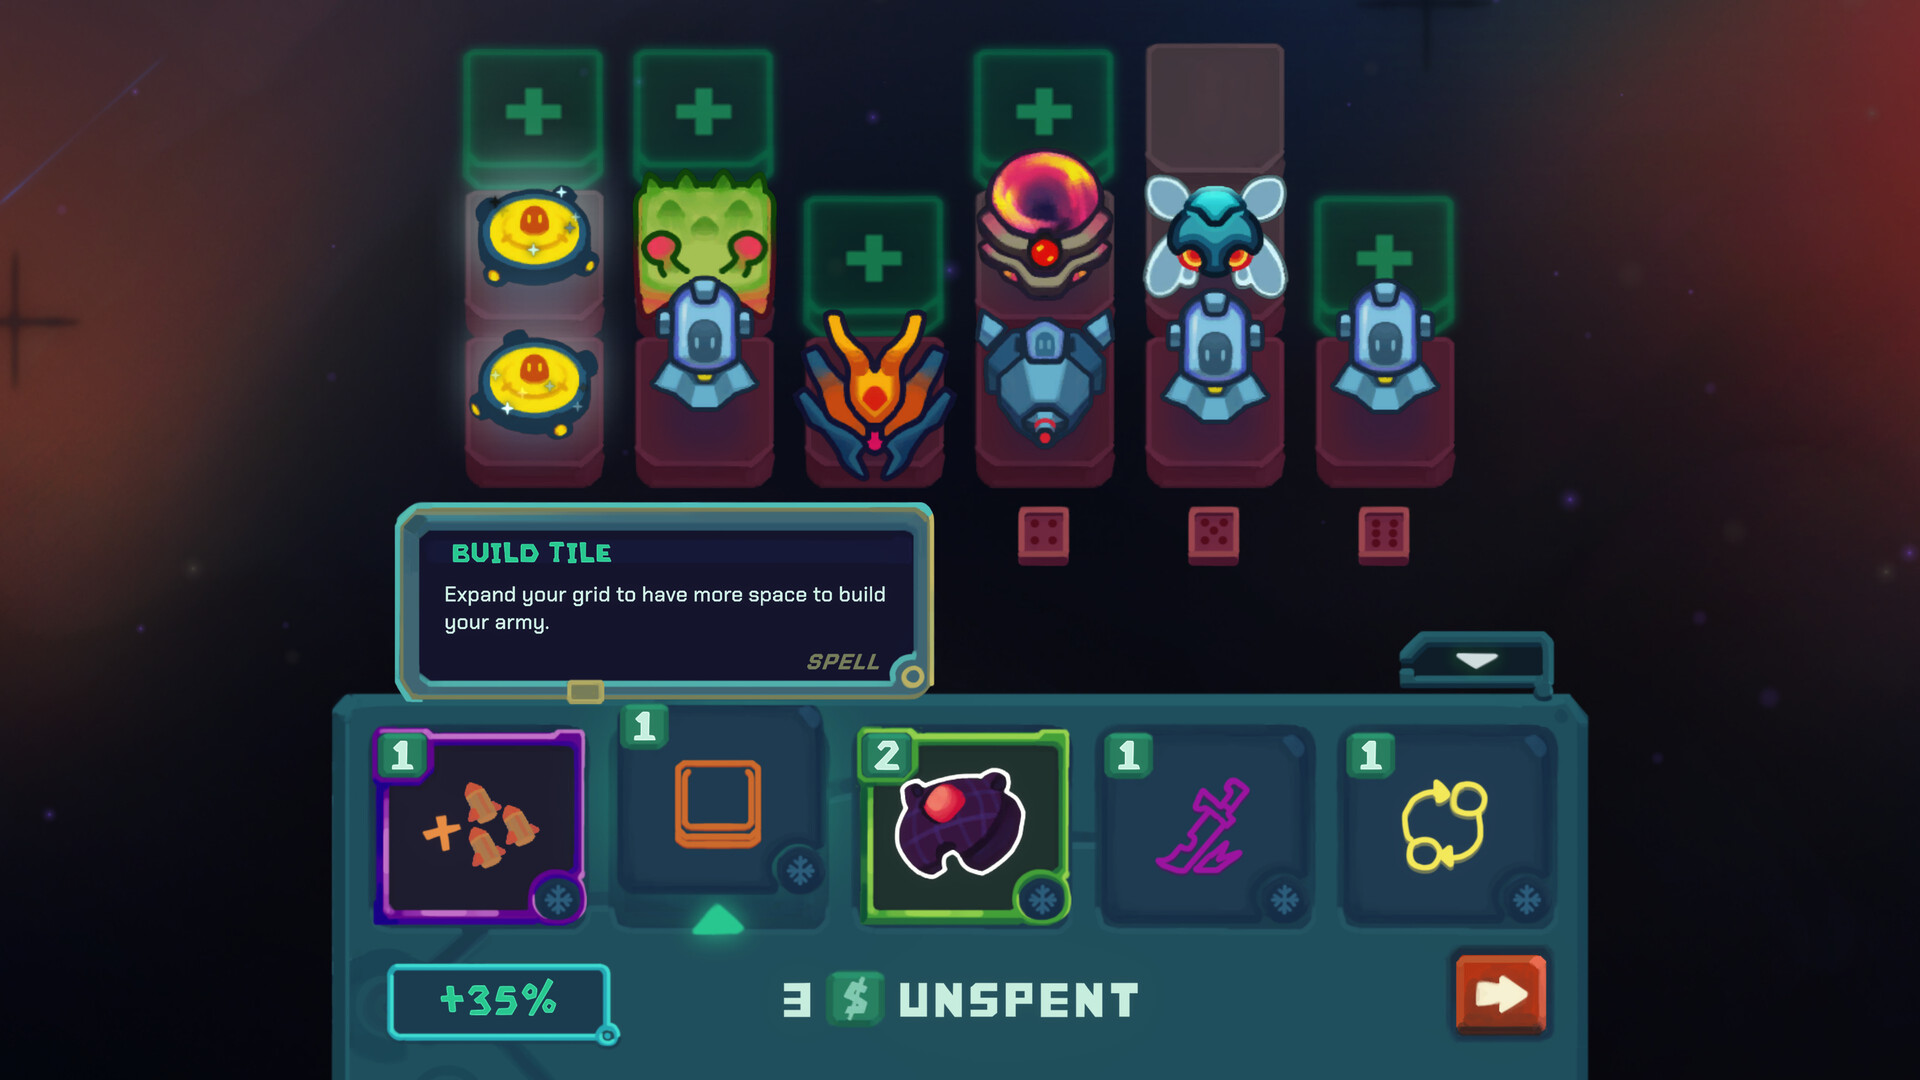
A growing army usually needs several kinds of support: a way to start the useful effect, a payoff when it activates, enough space for the right units and enough shop access to keep improving. Diagnose which link is currently limiting you. A powerful generator with no useful units to score needs a recipient. Strong units that seldom activate need access. A healthy scoring chain that produces too little final attack needs stronger payoffs, not merely more animation.
Read a potential purchase against the next launch. Can it contribute now? Will it become useful after one affordable change, or only after several specific shops? A unit that immediately repairs a missing role can be worth more than a rare unit with a larger ceiling. Conversely, another ordinary attacker can be a poor purchase if a cross-column random effect already has too many low-value targets. The cost includes what the new unit changes about the existing army.
Unspent ordinary shop cash becomes Mini-Dice on departure, rather than accumulating as a bank for a later shop. Spend it on improvements you will use; take the conversion when the remaining offers do not help. Refreshing with Chrono makes sense while you can still afford a useful result. Spending a valuable refresh to reveal items beyond the remaining budget can leave you with neither an upgrade nor the ability to repair a coming roll.
Freeze an offer you want to buy later when the current budget cannot support it. This is especially important when the next encounter will change your needs. A good replacement unit seen before an army wipe is valuable only if it remains available after the wipe. Do not assume a good shop will recur on demand. Freezing is a way to preserve a concrete option while continuing to spend the present budget on something the board needs now.
Level artifacts that you can keep activating
Artifact XP is strongest when it improves an effect that your army already triggers frequently. Captain gets column XP from pairs; Blob Girl gets it from Mini-Dice scores; other commanders reward Rift launches, destruction or particular spawning events. Find the route your current kit supplies, then place or activate the artifact so it can use that route. Buying XP for an inaccessible effect does not make the next turn more reliable.
Ask what the next level changes. Does it increase a reward, improve an engine's reach or unlock another effect? An immediate XP purchase is attractive when the improvement will be used repeatedly in the coming turns. It is less convincing when you are about to replace the artifact or cannot satisfy its trigger. Read the current tooltip instead of assuming every level provides the same increase; artifacts and variants can scale differently.
The Exalted provides a useful example of why level thresholds matter. Divine Touch triggers eligible artifacts when they level, and its starting eligibility is limited to levels up to three. Dark Medal changes that restriction. A player using this kit has to evaluate the next level as both an upgrade and a possible activation event, rather than assume every future level behaves identically. This is a commander-specific interaction, not a rule for all runs.
Your early artifact may eventually stop earning its slot. Replacing it is not an admission that the earlier purchase was wrong. It might have supplied exactly the strength you needed to reach better shops. Compare its current contribution with an available replacement, including how much disruption the swap causes. A small, dependable effect can bridge a difficult encounter, while a new scaling effect can become the better choice once the army has the resources to support it.
Separate permanent strength from turn output
The attack you see at the end of a turn comes from several layers. Permanent STR improves the units you retain. Dice Power changes a column's contribution. Extra scoring and Repeat give valuable units more opportunities to contribute. Mult amplifies the accumulated attack for the turn. Improve the layer that is holding the board back, rather than buying the same type of bonus whenever it appears.
Here is another deliberately simplified example. A board contributing 100 before Mult with a final Mult of five produces 500 in this model. Improving that starting contribution to 200 gives 1,000 with the same Mult. Improving Mult to ten gives 1,000 with the original starting contribution. If only a small fraction of the army is ever scored, adding a way to reach its stronger units may be more useful than either purchase. Real chains have timing and trigger conditions, so this illustration is a comparison aid, not a complete score simulator.
Pay attention to effects that replenish their own conditions. A one-time increase can carry an early fight, but later defenses require a board that becomes stronger over time or can reproduce a large turn reliably. Captain's repeatable pair growth, Blob Girl's Mini-Dice XP and Blood Beast's destruction XP are starting routes into that idea. The exact artifacts you find will vary; the job of growth does not.
Avoid calling every impressive interaction infinite. A generator can be limited by Charge, valid recipients, dice control or a condition that happens only once. Watch whether the chain still functions on the next turn. If it does not, identify the resource it consumed and buy a way to replenish it, or choose a different engine. A burst that wins one target is useful, but it should not hide the army's dependence on a supply that is about to run out.
Leave a defeated planet when the reward fits the board
The Skip offer trades remaining opportunities on the current target for better shop rarity. Earlier access to stronger items can help a board whose opening effects have reached their limit. Staying can help a board that still needs more turn-start resources or repeated growth. Read the actual offer and the effects currently running instead of applying a fixed always-skip or never-skip rule.
Spend the useful budget before accepting the departure. Otherwise you may leave an affordable correction behind and enter the next encounter with the same weakness. Also consider whether the new shop quality will be usable: better offers matter less if you cannot buy them or refresh toward something that fits. Shop rarity is a tool for finding the next part of the army, not an attack bonus that wins the following target by itself.
When deciding whether to stay, identify the lasting benefit of the extra turn. A strength effect that improves several useful units can have a concrete value. Another activation of an obsolete artifact may have little value. Compare that growth against the opportunity to find something better next. The answer can change after a single purchase, so reassess the board rather than continue a habit formed on the first planet.
If you are stuck at the Act 2 wall, this is a good place to review the run. Players discussing that problem often report getting better results from pivots and growth than from forcing triples on every launch. Treat those reports as practical ideas to test, rather than a guarantee about your shops. The important correction is to ask whether the match activates the effect that your army needs to scale.
Prepare for Pilots while you still have choices
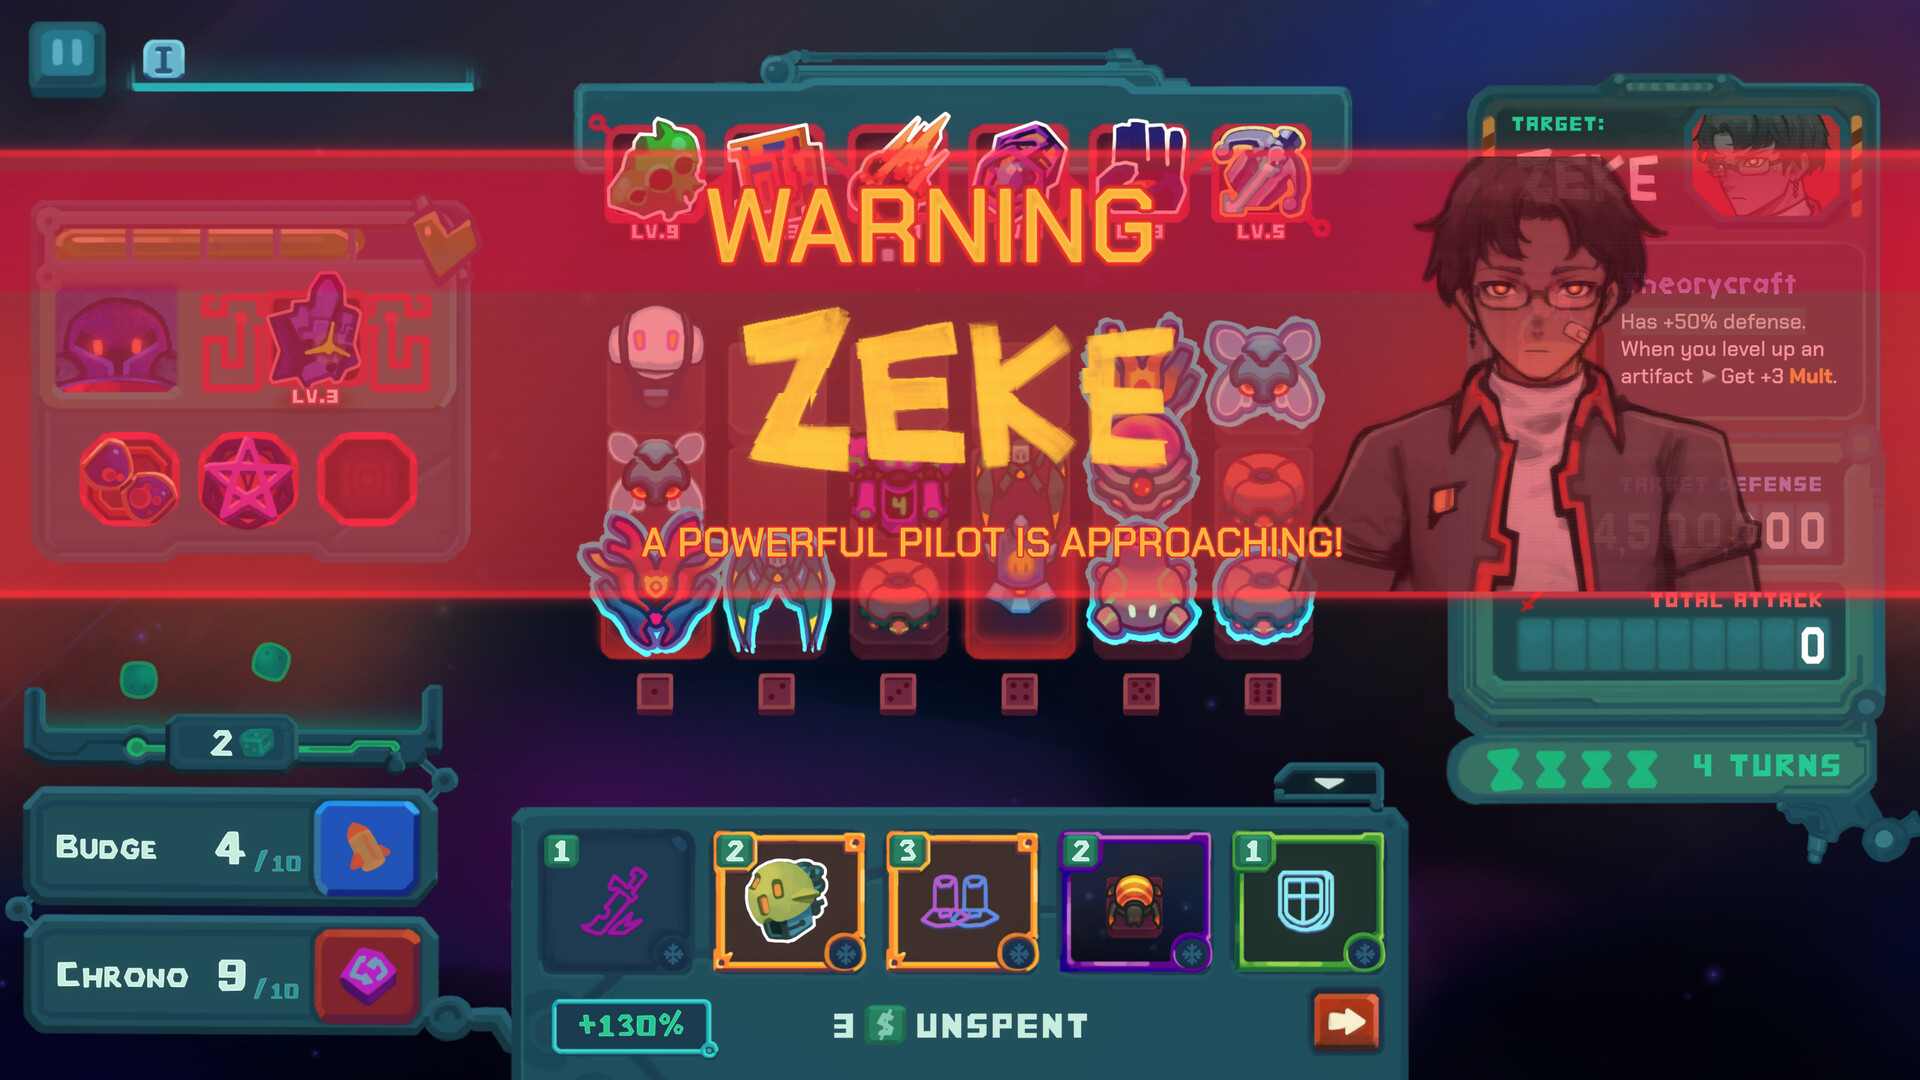
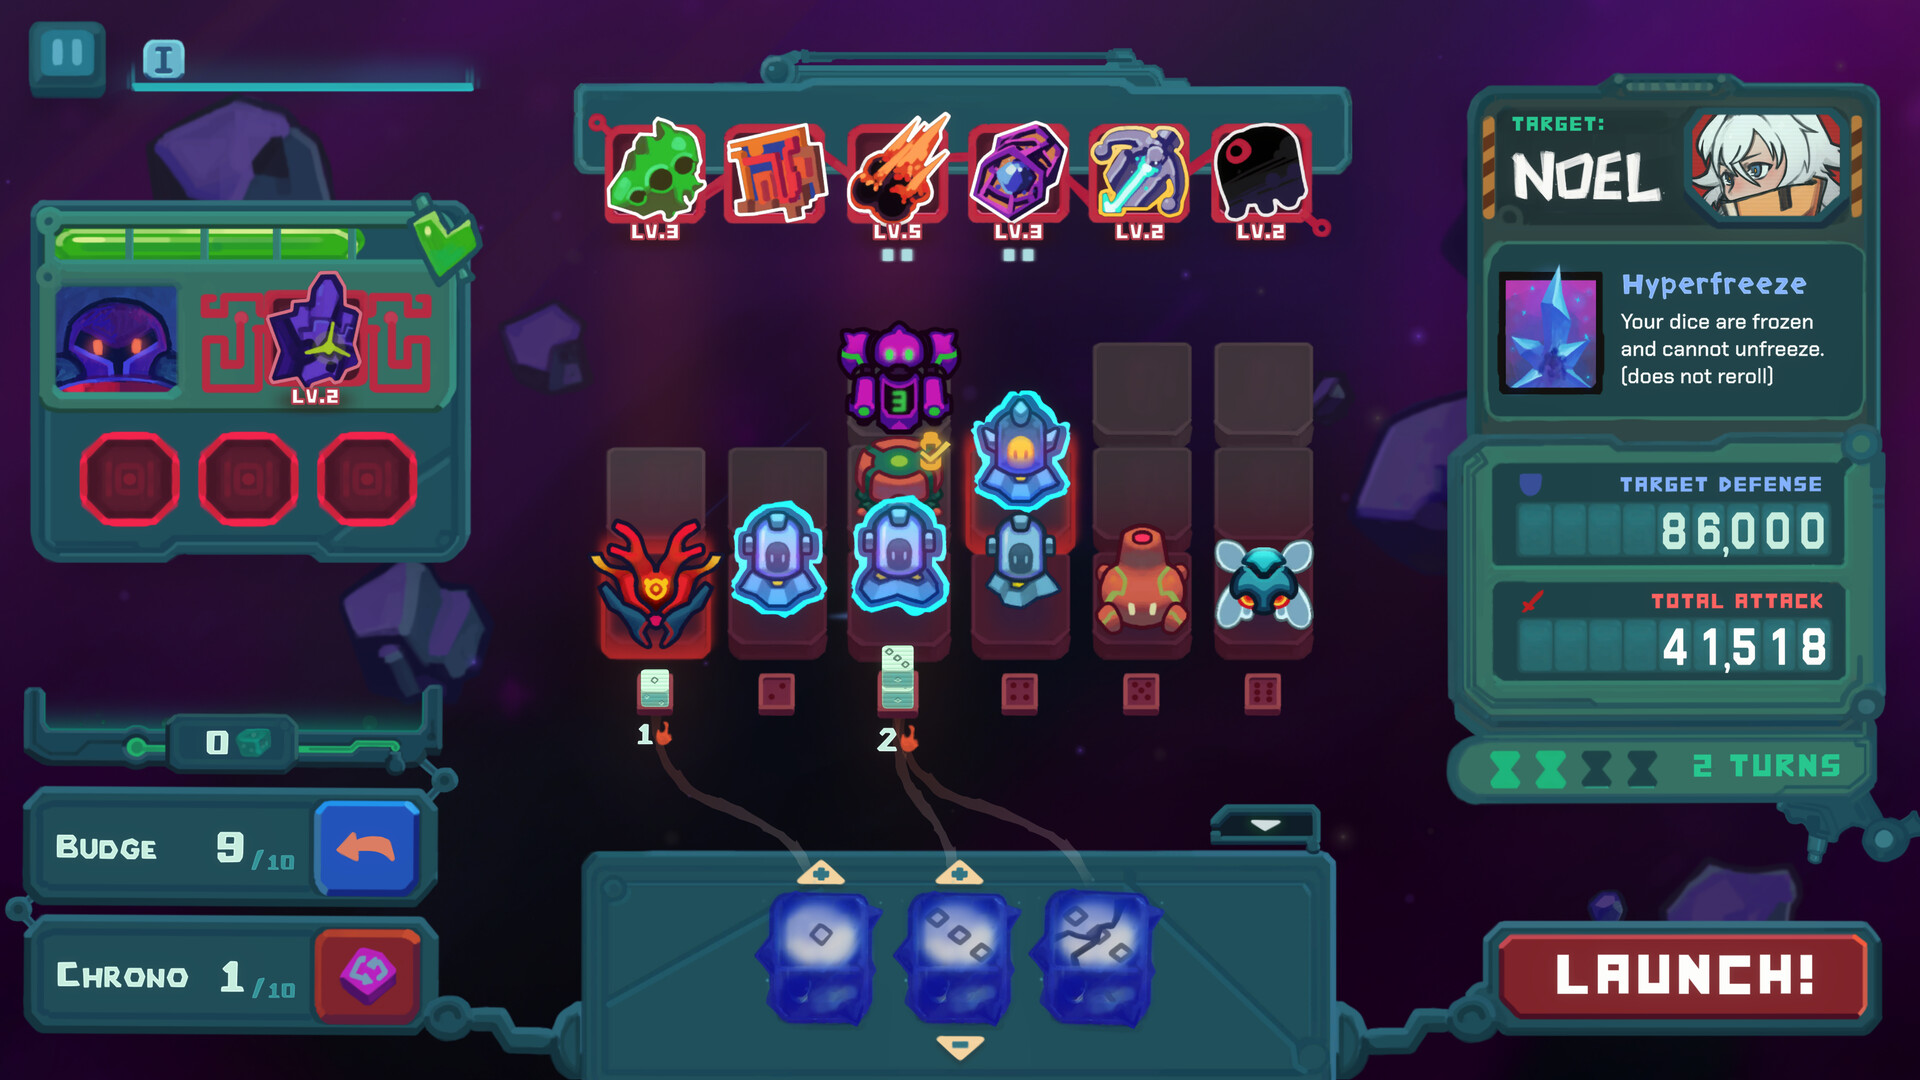
Look at the Pilot ability before entering the encounter. Noel's Hyperfreeze prevents dice rerolls. Roxy's Trailblazer starts Base Dice cracked, so a needed correction first requires a reroll. The official screenshots on our dice-control guide show those two different constraints. Carrying the same amount of Chrono into both fights does not solve the same problem.
Before Noel, evaluate whether Budge can reach a useful column from nearby results and whether the army can function without repeatedly refreshing the Base Dice. Before Roxy, keep enough Chrono to repair a cracked roll when correction is necessary. If the initial result already performs the job, there is no need to pay solely because the dice look damaged. The visible encounter rule determines which actions are available; the attack gap determines whether you need to take them.
Think about redundancy without filling the army with weak duplicates. A second route to produce Mult, or another column containing a useful generator, can help when a boss interferes with the preferred line. Adding redundancy is worthwhile when it survives the actual restriction. Two generators that both require a blocked trigger are still vulnerable to the same problem. Choose another route that complements the first, and make sure you can afford to maintain both.
After a Pilot, reassess the recovery and upgrade choices in the context of the next stage. More Hearts provide room for failures and costly purchases; another perk can improve the engine. Read what changes immediately. A new perk that forces a major relocation may be powerful later but risky if the shop cannot fund the move. The best reward is the one that your current board can turn into survival and growth.
Review a failed run with three concrete questions
First, did the valuable units actually score? If not, review column access, cracked dice, restricted Mini-Dice faces and directional effects. The answer is often an activation problem. Next, did those scores produce lasting growth or renewable Mult? If they only repeated the same modest attack, review the artifacts and the point where you could have replaced an early effect. Finally, did the shop resources match the coming restriction? A last Chrono spent browsing can explain why the decisive roll was unrepairable.
Capture the board, artifacts and encounter rule when asking for help. A large final number alone cannot show why the engine failed. The developer recommends sharing build screenshots with experienced players, and points struggling players toward Esty8Nine's strategy tutorial. Use that feedback to choose one change for the next run, such as preserving a reroll before Roxy or giving a Mini-Dice engine a payoff earlier.
You do not need to memorize every item to make progress. Learn to connect an action, its trigger and its reward. Each shop then becomes a choice about improving that connection, and each loss becomes a specific question you can answer. When you are ready for narrower problems, use the artifact guide, Mini-Dice build guide and Doomed World guide to adapt the same decision process to a different constraint.