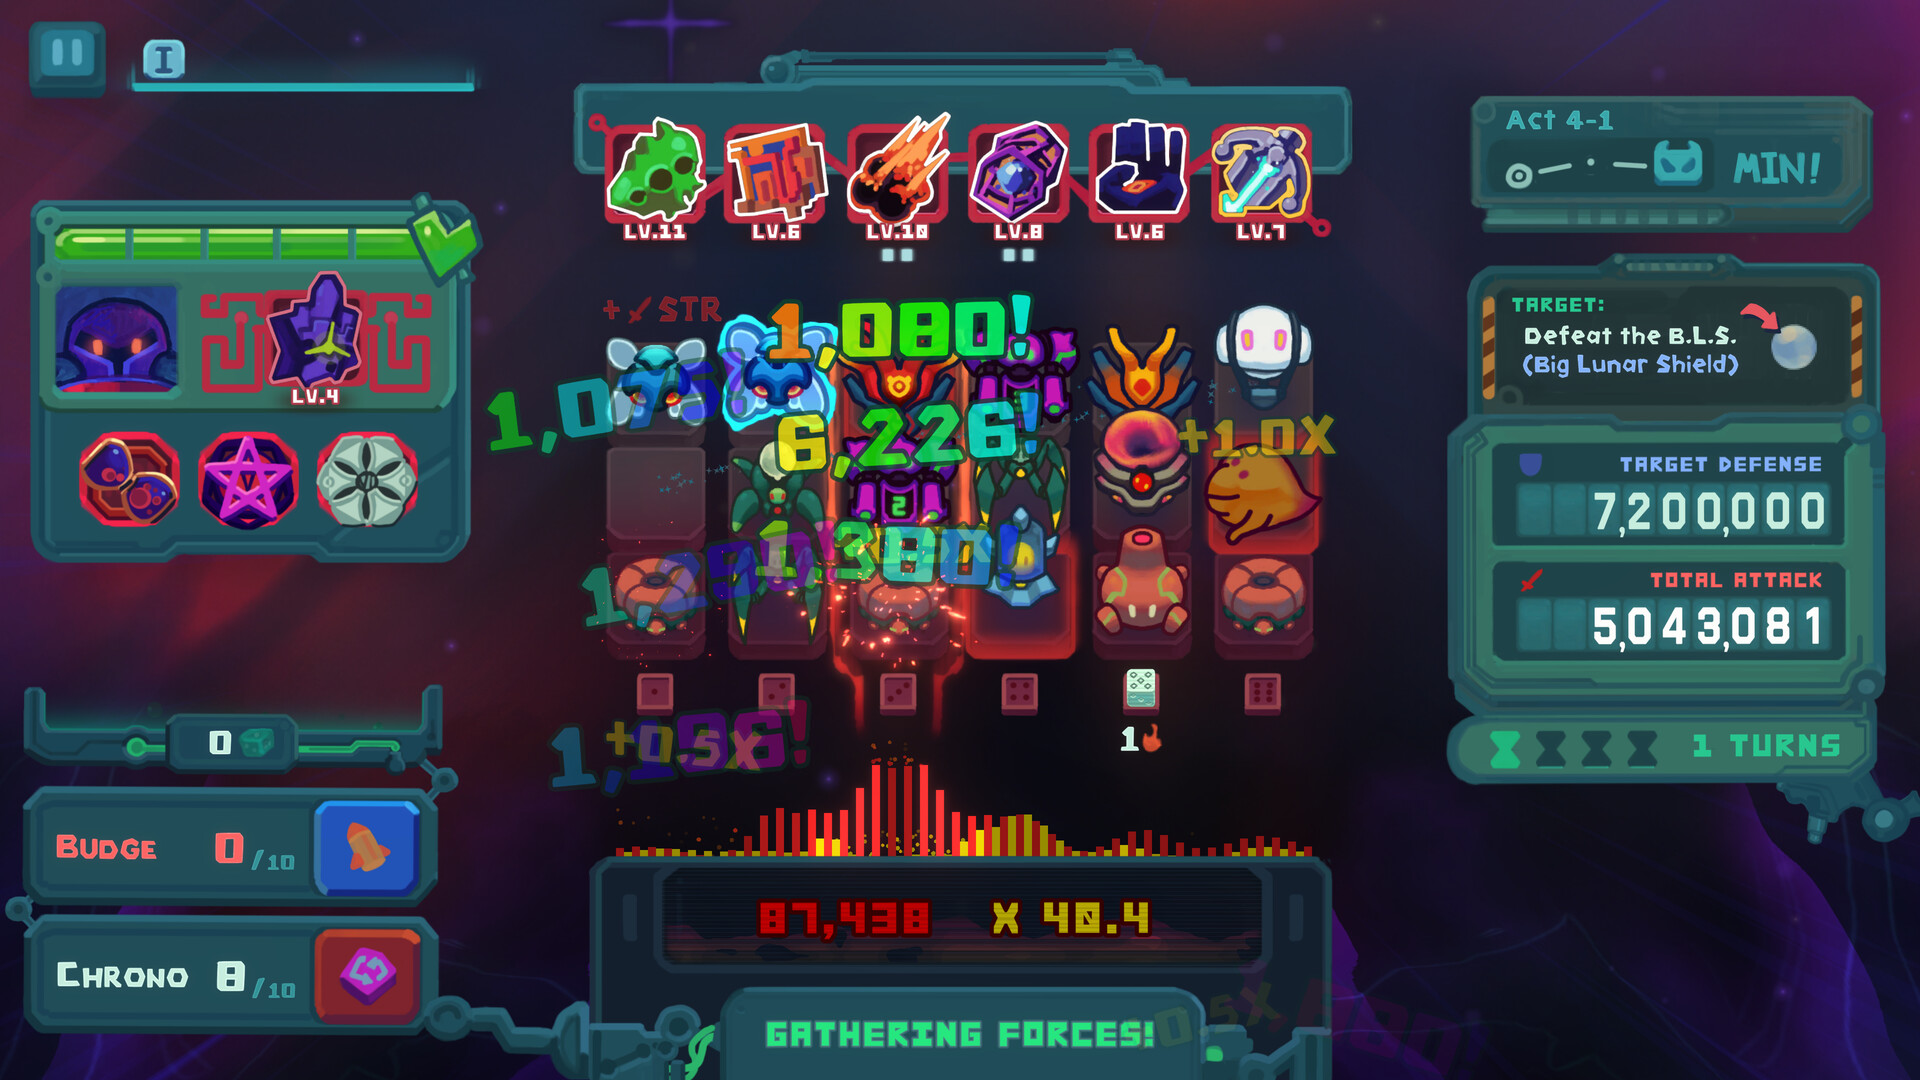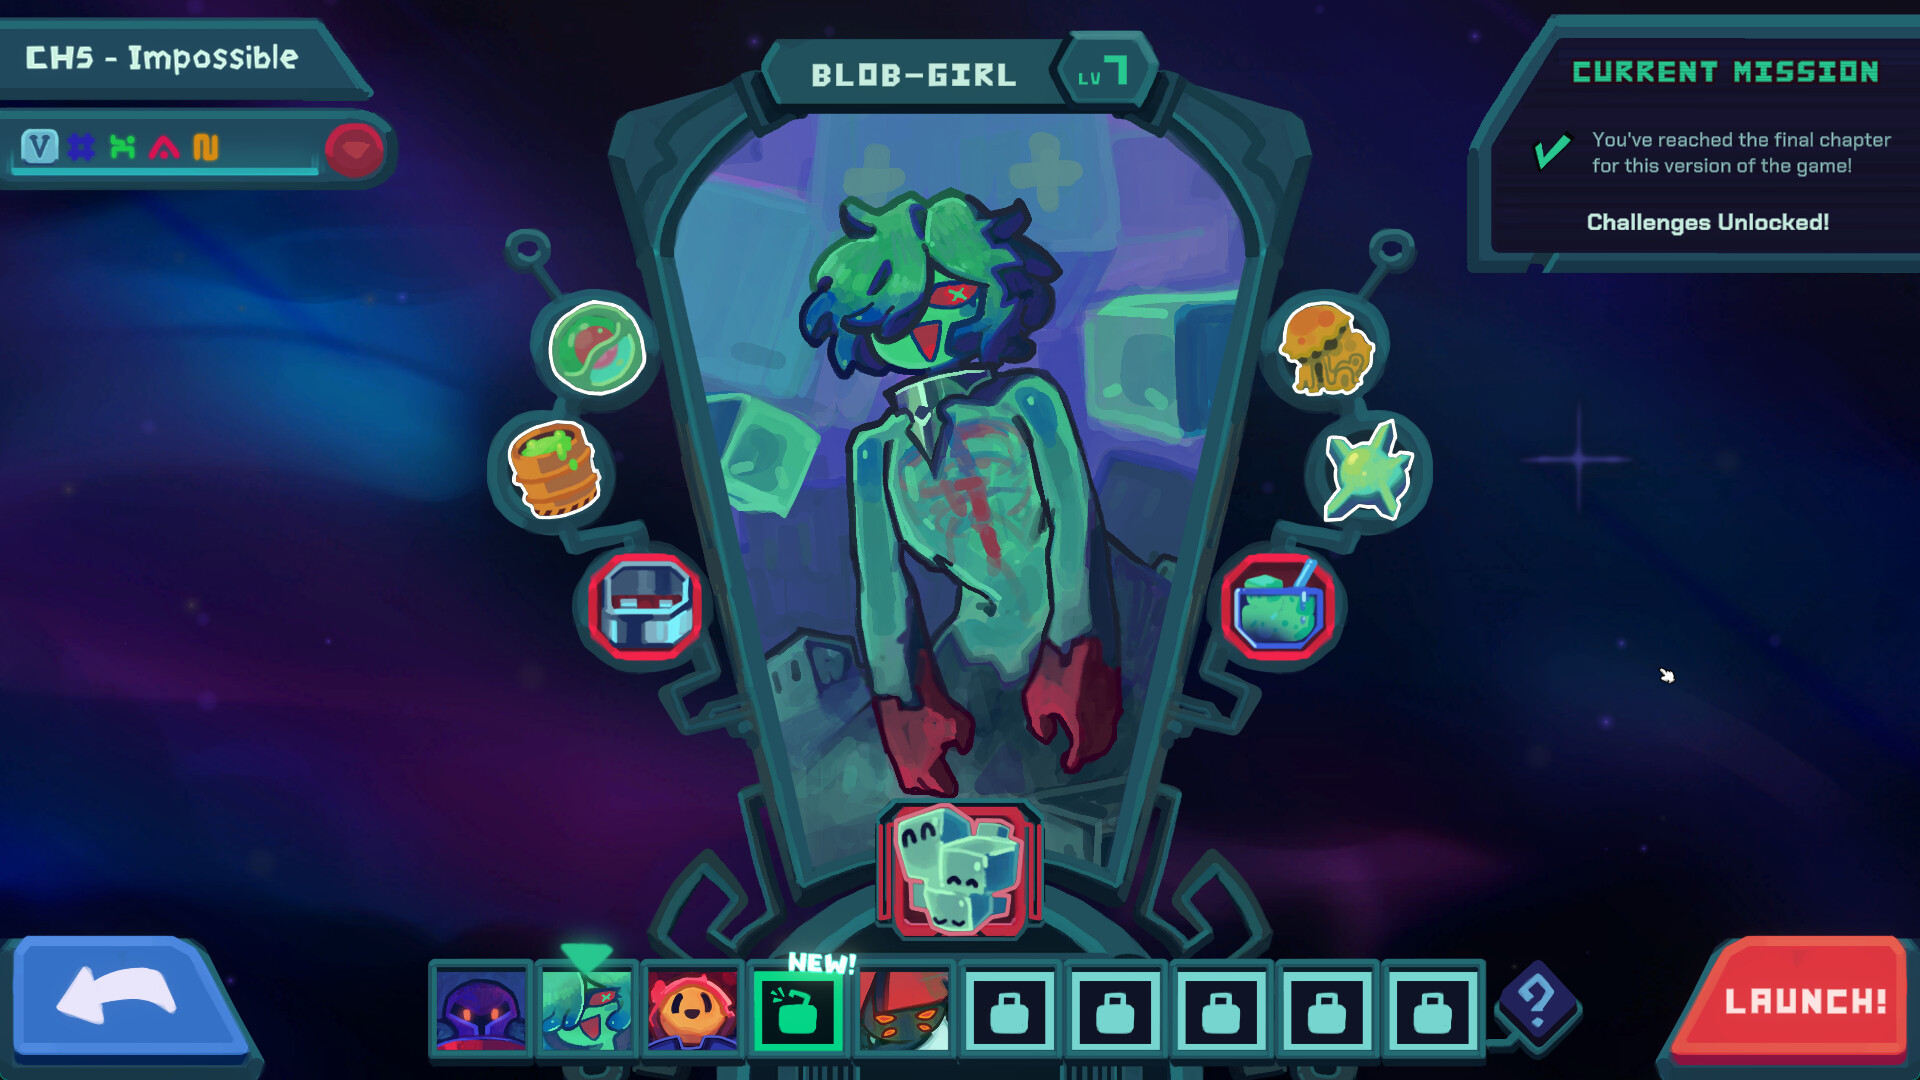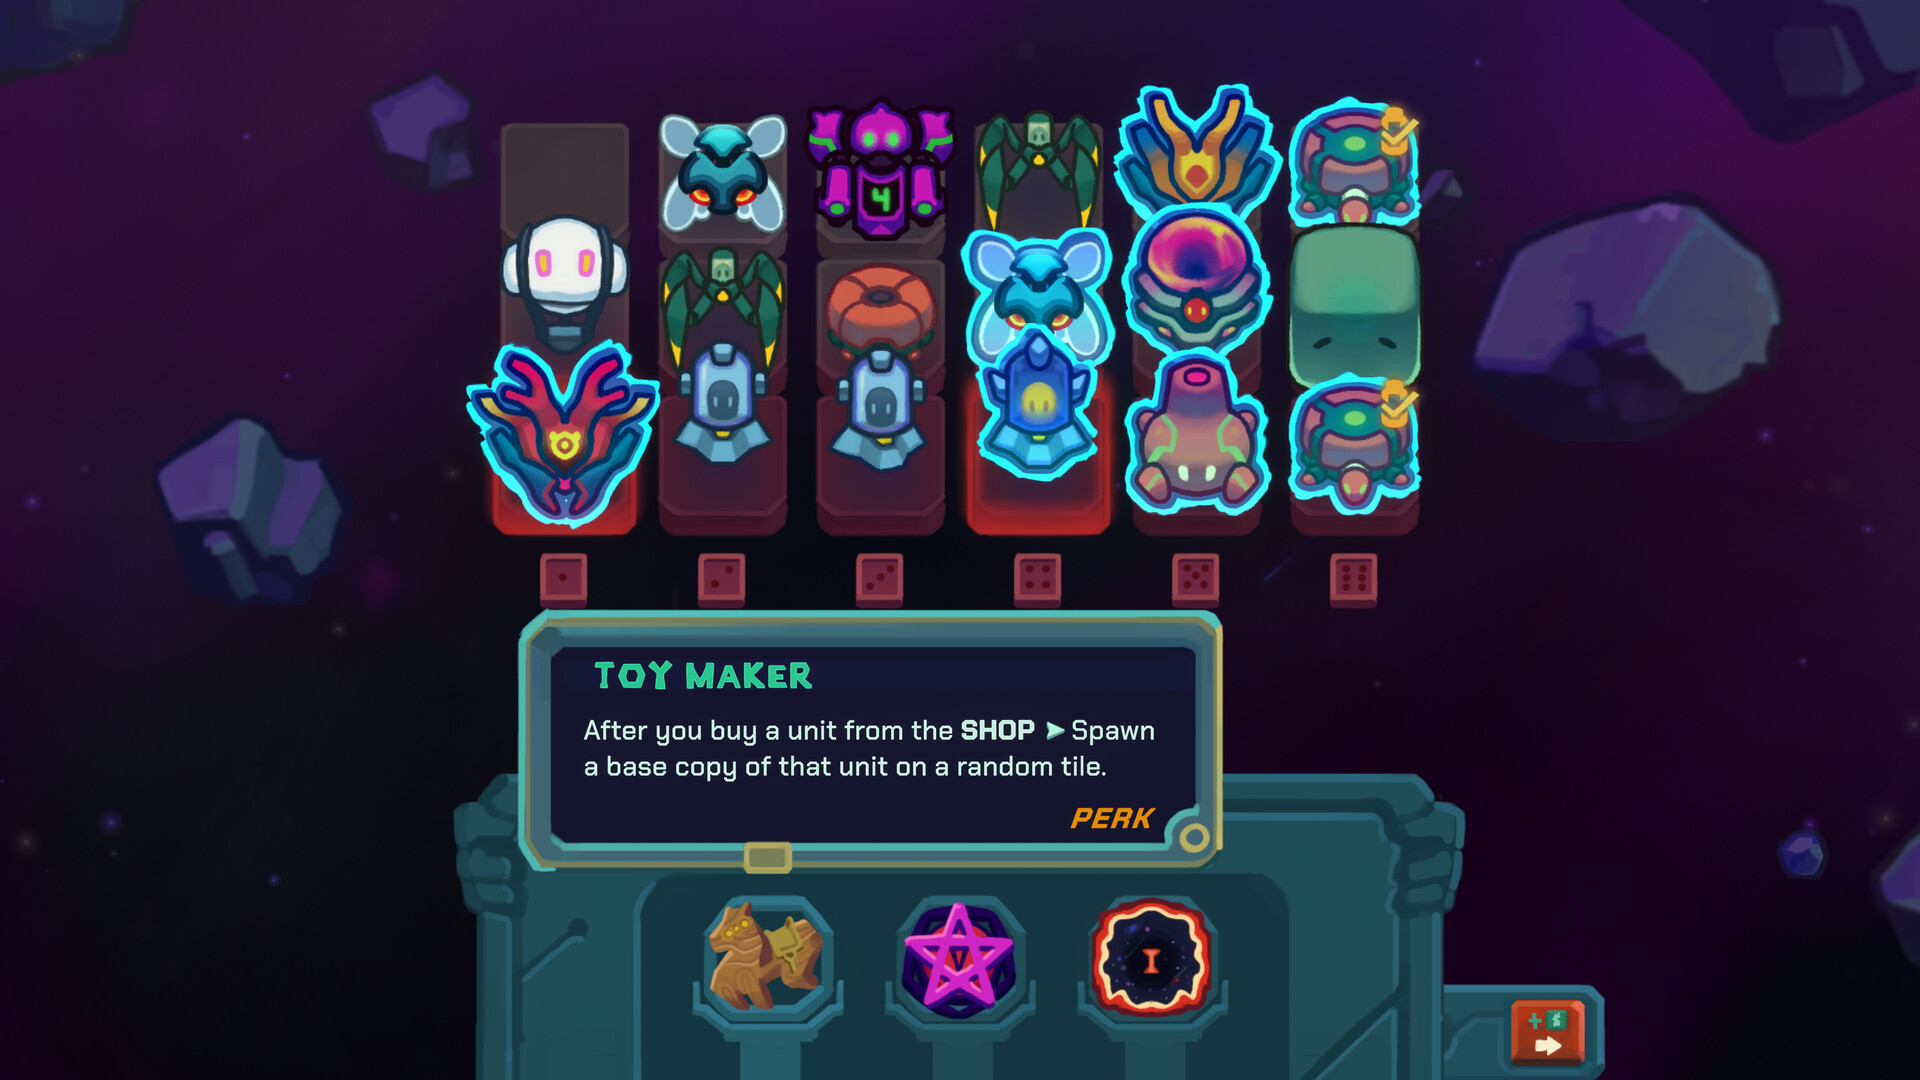
Start with the 1.0a rules
Chapter 6 received a targeted balance pass in patch 1.0a. If you are following a launch-day discussion, separate its old restrictions from the current fight. Bud locks fewer perk slots, Tippy follows a fixed blocking order and The STAR awards extra turns when thresholds are passed. Those changes also apply to the Ultimate Earth Multiverse challenge.
This page discusses boss mechanics and therefore contains gameplay spoilers. It provides an adaptation plan and clearly identified community build examples, rather than a seed, complete unlock walkthrough or guaranteed winning loadout. The publisher's patch announcement is the authority for the changed mechanics; the advice below explains how to prepare around those mechanics.
Bud: use the guaranteed slot first
Bud now locks two perk slots instead of leaving the first unavailable as well. One slot is guaranteed, leaving two quests for the rest of the fight. Build the early part of the encounter around the perk that is available. A plan that requires every slot before it can produce attack is still vulnerable, even though the restriction is less severe than at launch.
Read the displayed quests and compare them with what your existing army can do. A reachable quest can open another useful option; an expensive detour can consume the resources needed to keep scoring. Price the detour as a complete sequence: the correction, the shop purchase, the displaced artifact and the turns needed. Do not evaluate only the eventual reward.
The practical preparation is to bring a functioning core before the boss. Avoid relying on a single late perk to repair an unfinished engine. The guaranteed slot gives you something to use immediately, but it does not make an unrelated army compatible with the perk. Arrange the board so that a available trigger earns both present attack and growth when possible.
Tippy: plan around a known next block
Tippy's blocking pattern is now consistent. The developer describes a counterclockwise order starting at the bottom-right grid, with an arrow showing the next location. Watch the displayed arrow and treat the next block as a planning constraint rather than a surprise. The patch does not mean every part of the board remains available.
Look at which productive units or artifacts the next block threatens. If an affordable movement or another activation route can preserve the engine, make that preparation before you depend on the affected area. A second useful column can matter more than another improvement to the single column that will be unavailable. Do not add a backup whose trigger is disrupted in the same way as the first.
Plan one step ahead, then recheck the actual board after the block changes. The fixed pattern reduces uncertainty, but a new spawn or relocation can change which pieces occupy the threatened area. Keep the main generator, its payoff and the dice route connected. Saving one impressive unit is less useful if the blocked artifact supplied the resources that let it score.
Robo-Min: preserve the growth earned earlier
The 1.0a announcement does not change Robo-Min directly. The developer expects easier preceding bosses to leave the army better scaled for this fight. Do not read that as a hidden attack reduction or a new weakness; neither is stated in the patch. Prepare by keeping the engine productive through Bud and Tippy rather than planning to rebuild everything at this point.
Review what survived and what remains usable. Did the important artifact gain XP? Can the strong units still activate? Is renewable Mult available? If one part failed in the previous encounter, the next shop should repair that part before adding another speculative finisher. An army can look strong while missing the control needed to use its largest column.
Avoid spending all the emergency resources merely because the current turn appears safe. The later fight still needs control and a productive board. At the same time, do not hoard a resource while a concrete shortage ends the run. The correct reserve is one that supports a known next action under the coming restriction.
The STAR: use the threshold turns deliberately
The STAR now grants an additional turn each time you pass a threshold, for three extra turns across the fight. This repairs a launch-version situation where the available turns could make the necessary doom generation impossible. It is a specific threshold reward, rather than unlimited overtime or a guarantee that every board can finish.
Read the current threshold state before deciding what the next launch needs to accomplish. An engine that passes a threshold can earn another opportunity, so reliable activation matters alongside peak attack. Do not spend all control seeking a spectacular number if a dependable launch makes meaningful progress and leaves the next turn functional.
Keep scaling during the approach. More turns give room for a productive engine to work; they do not replace permanent strength, repeated scoring or renewable Mult. If the board is still producing the same small turn, inspect which layer is missing. If it already produces enough but a disruption prevents activation, prioritize a route that remains available over another damage upgrade.
Build examples are options, not shopping guarantees
Players in the Chapter 6 thread describe several successful approaches: large Migo and Warped Fungus growth, Swarmers with Chrono-linked Mult, and a post-patch Riftmaker shield engine. The reports demonstrate variety. They do not establish that those exact items are guaranteed to appear, or that a partial version automatically defeats the boss.
Use an example to identify roles. The Migo/Fungus approach illustrates compounded strength. The shield report combines a recurring event with growth, shop access and more scores. A Chrono-oriented board needs both resources and effects that reward spending them. Ask which role your current army can already fill, then accept a compatible offer that completes another role.
The developer explicitly advises against forcing a specific build and recommends adaptation and game knowledge. That is the useful takeaway from the discussion. Continue improving an engine that the shops support, and pivot when another available route solves a real constraint. Spending every refresh on one rare missing item can remove the resources the current army needs to survive.
A short pre-fight review
| Question | If the answer is no |
|---|---|
| Does the army produce meaningful attack with its currently available perks? | Repair the opening engine before depending on locked slots |
| Can it keep growing while a productive area is blocked? | Add a usable alternative route or prepare an affordable move |
| Can its strong units actually be scored under the coming rule? | Improve access rather than only increase their STR |
| Is Mult renewed by an event the fight still permits? | Replace a disabled route with a compatible available payoff |
| Do the shops leave enough resources to start the next launch? | Stop speculative refreshes and preserve the needed correction |
After a failed attempt, capture the board and the boss rule that interrupted it. A final damage number cannot show whether the problem was growth, placement or access. The developer recommends sharing build screenshots for feedback and links Esty8Nine's tutorial for a deeper strategy discussion. Use that feedback to repair one identifiable failure in the next attempt.
Future difficulty changes are not live yet
The developer describes Chapter 6 as originally intended to be a one-time, True Ending style fight. The patch announcement discusses a future replayable high difficulty for a later major update, potentially 1.1 or 1.2. It does not add that mode in 1.0a or provide a confirmed release date. See the patch summary for the changes that are actually in this update.